Whiter Teeth

Do you drink coffee, tea, wine? All of the above? Tee hee! Well, I’ve got some solid tips to keep your Pearly Whites lookin’ super fresh and fly.

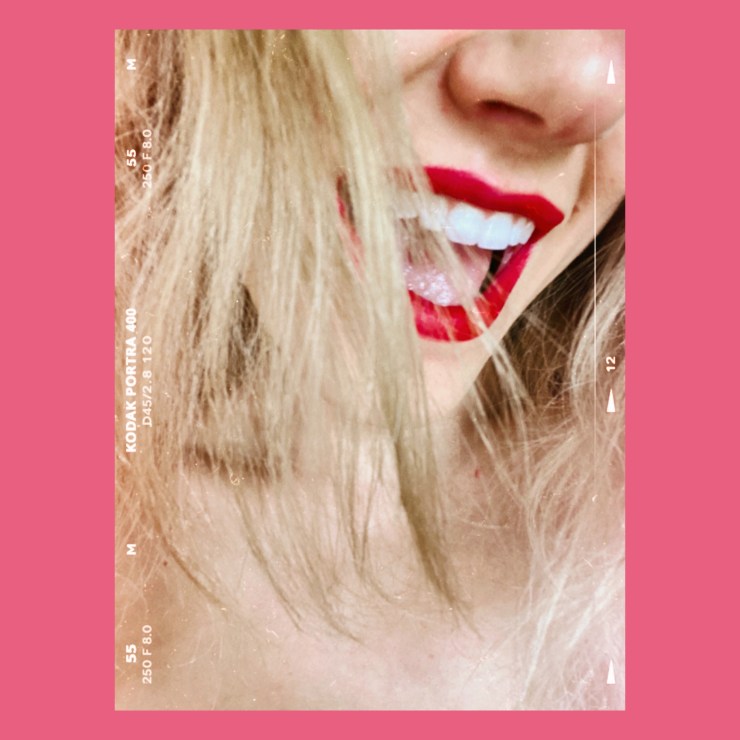
First, let me tell you what my tooth goal has been. I want the whitest teeth I can possibly get…you know how when white is super white, it’s almost blue? Yeah, that white. For years, I tried grocery store whitening toothpaste and whitening strips..to no avail. Then, I graduated to the dentist whitening trays because at this point, it had become an obsession. Those, still, didn’t get me to the Blue Arena. Finally, I thought, I’ll just find a dentist to professionally whiten them. Well, I found one and they said my teeth were already white. Um, I beg to differ…so, they took my $300 and proceeded to get them whiter–didn’t work and I was out all that money.

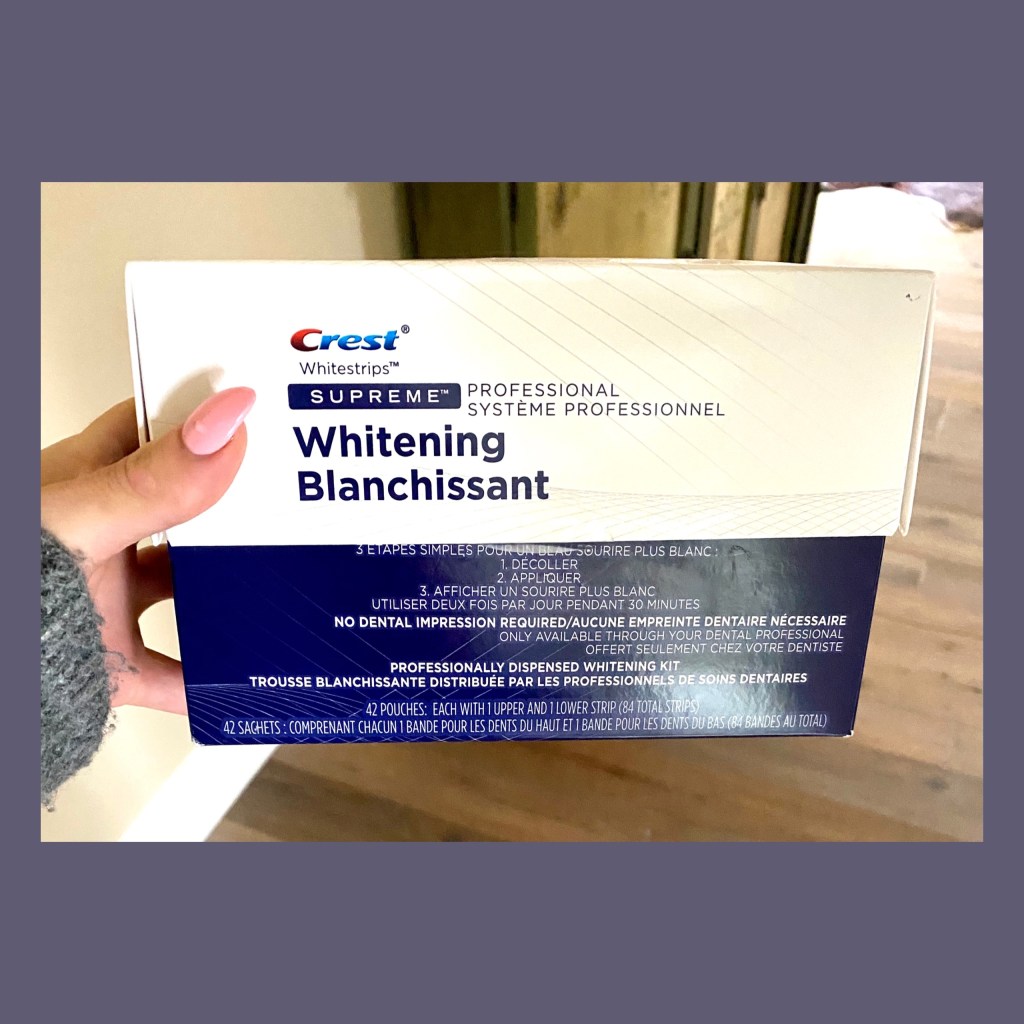
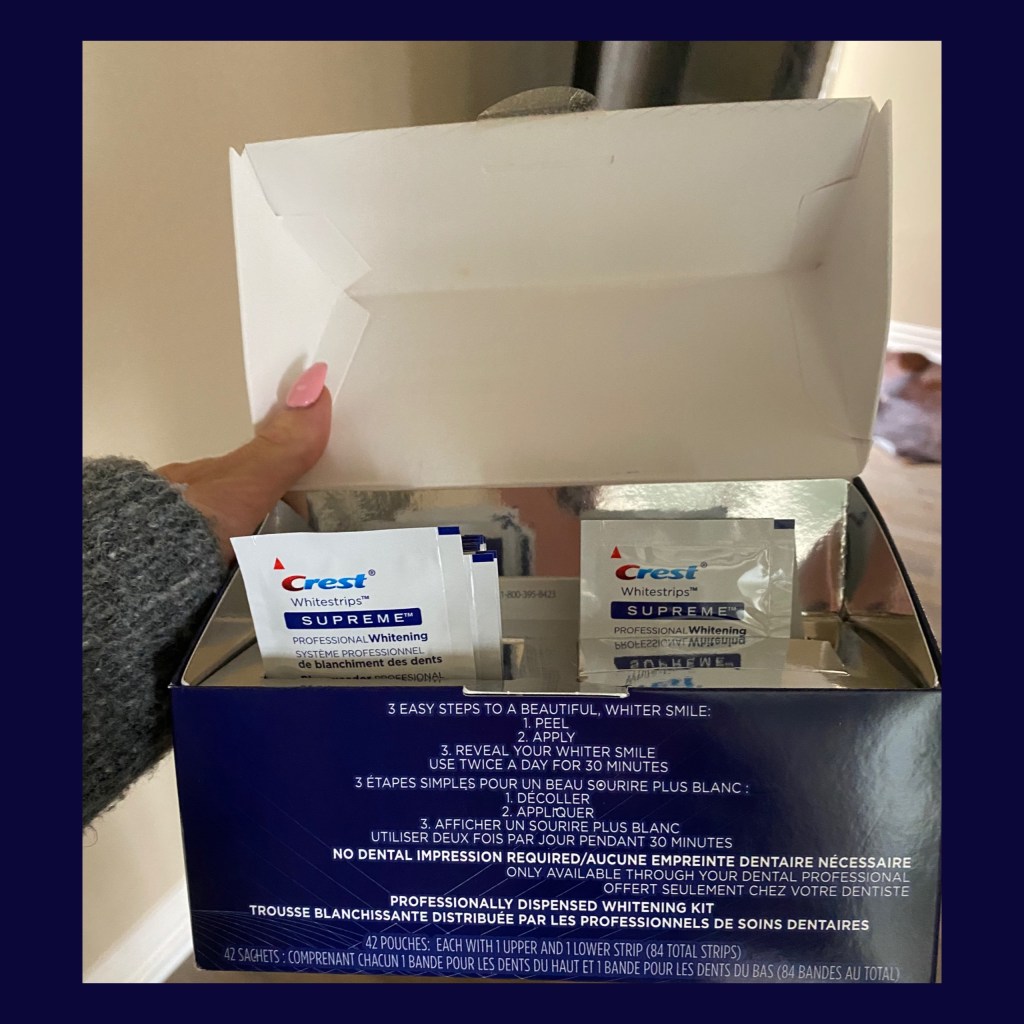
Soooo, at a regular teeth cleaning, I complained to my dentist about the other dentist and he said, “Patients have had quite a bit of luck with the Crest White Strips that I sell here.” Say what? Then, I received the best Tip on this journey. Are you ready? KEEP THEM ON ALL NIGHT LONG! But, but the directions say 20 min…forget the directions. Bye Felecia! If you have ultra sensitive teeth, make sure to use a sensitive toothpaste.

Are you wondering how to keep them on all night? Well, because I’m a nerd and know how expensive my braces were, I still wear a top retainer. Because I have anxiety, I also wear a bottom night guard for the grinding of said teeth…my poor husband. So, when I wear my whitening strips, I just put my retainers in place and don’t even feel that I’m wearing the strips. If you have kept your dentist whitening trays, use the strips, then put on the trays. The strips are quite delicate and move around quite a bit, that is the purpose for using these extra devices to keep them in place.

You are by now probably wondering about the price…It’s actually not bad. $70 for a box. Another money saving tip is to open 1 pouch and just use 1 strip, instead of the top and bottom, then the next time you whiten, you can use the 2nd one.

A final bit of wisdom, that I was told by a dentist, is that real teeth do not ever get as white as veneers. This has helped me manage my expectations more effectively.

I hope I’ve given you something to think about, on your journey to your best self. Let me know how you feel about keeping the strips on all night! Final word…an electric toothbrush is a Must Have.

Moroccanoil & Olaplex

MoroccanOil

Sooo, as you all know I did a rave review over Bumble & bumble Hairdresser’s Invisible Oil product line. My talented Hair Stylist (Anne Wright) recommended the MoroccanOil line, so I thought I’d try the moisture Shampoo/Conditioner.

http://www.moroccanoil.com says: Infuse dehydrated, dry hair with much-needed moisture. Moroccanoil® Hydrating Shampoo conditions hair with argan oil, Vitamins A and E and moisturizing red algae—for hair that looks and feels healthier. This moisturizing shampoo is gentle enough for daily use and provides optimal hydration for both normal and color-treated hair. Increase your hair’s manageability, smoothness and shine. Color-safe. Sulfate-free, phosphate-free and paraben-free.

My hair back story: It’s suuuuper dry…kind of like hay, and wavy, and color treated. My stylist said all the ingredients are natural (good for you) and you can even leave the oil on your hands after you run it through your flowing locks. Win Win…Optimum MOISTURIZATION for the whole body!

Welp, this lovely product did nothing for me. My hair is still a frizz bomb and does not feel moisturized. But, if you have a different hair type…you might like it. One of my friends, who has lovely curly hair, swears by the whole MoroccanOil line.

Olaplex

This is another favorite of stylists everywhere. http://www.olaplex.com says: N°4 Shampoo repairs and protects hair from everyday stresses — including damaged hair, split ends, and frizz — by re-linking broken bonds. Leaves hair easier to manage, shinier and healthier with each use. N°4 is color-safe and proven to reduce breakage and strengthen all types of hair. 

What’s my review? FAIL, big fail! First, I don’t feel it gives my hair any added shine and definitely does not fight the frizz. The biggest problem I have is that it makes my scalp itch. Lest you think I’m a hypochondriac, my husband and son say the same thing. I have not heard one civilian (civilian = non stylist), in my circle of friends, say they like this product. Let me know if you disagree, I’d love to hear why you like it!

I’m still on the journey of finding the perfect product…and when I do, you will be the first to hear about my discovery. Trying to fight frizz, one day at a time. Share your fave products with me, so we can fight this bitch together. Tee hee!

You can purchase these items here: http://www.amazon.com/shop/alisonviktorin

Beauty on a budget

Part 3…Peels (remember, I’m not a dermatologist or an aesthetician)

Glycolic Acid Peel

Ooooh Boy, is this good stuff! The Glycolic Acid Skin Peel from Skin Beauty is a Must in your skin care arsenal. All the plumping, all the glowing right here in this little bottle.

From Amazon: MULTI-PURPOSE REJUVENATING TREATMENT – This facial skin peel treats many skin issues including moisturizing dry skin, treating discoloration and age spots, repairing scars, decreasing fine lines and wrinkles, and rejuvenating the skin’s surface via increasing the rate of cell regeneration. https://smile.amazon.com/GLYCOLIC-Acid-Skin-Chemical-Peel/dp/B003SJ37SM/ref=sr_1_6?crid=1YTB7WNQA2R97&dchild=1&keywords=skin%2Bbeauty%2Bglycolic%2Bacid%2Bskin%2Bpeel&qid=1605562723&refinements=p_85%3A2470955011&rnid=2470954011&rps=1&sprefix=skin%2Bbeauty%2B%2Caps%2C172&sr=8-6&th=1

I put the peel on my skin with a brush, it helps me feel oh so profesh! Tee hee! If you are a newbie, where peels are concerned, start off leaving it on for only 3 minutes. You can always work your way up…not gonna lie, this peel packs a punch and you will feel all the tingles. Tingles = ants stinging your face…so have a fan handy. If you do nothing else to your skin, and you’re just a peel kinda person, you can use this every 4 wks or less. It’s up to you and how your face feels. The day after, you might feel like your skin looks fresh and beautiful…and also a bit tight. You might start to peel a bit, nothing crazy, days 3-5. By day 7, your makeup will be gliding on so smoothly and your skin will look rejuvenated and just plain lovely. Let me know if you feel the same after trying!

Glycolic Pads

These pads are oh so delightful! They are only 20% glycolic, so they can be used more frequently. 50 pads come in a container and here’s the Tip…cut the pads in 1/2 so you can have double the amount. The pads are fairly large, so cutting them in 1/2 won’t feel like you’re being cheap. They’re so large to begin with, it’s almost a waste if you don’t cut them. I use these in the evening, so all of the good “juice” soaks into my skin overnight. After using the pads on my face, I then rub it over my hands, knees, and elbows. Waste not Want not! Ha! Beauty on a Budget, am I right? https://smile.amazon.com/Glycolic-Acid-Exfoliating-Wipes-Hyperpigmentation/dp/B07C468P8P/ref=sr_1_3?dchild=1&keywords=touch+glycolic+acid+skin+pad&qid=1605567342&sr=8-3

Neutralizer

I would feel quite guilty if I didn’t let you know to buy a neutralizer for after-peel purposes. Neutralizers take the burning and tingle out of a peel, when you’re finished.

From Amazon: Professional grade chemical peel neutralizer. Helps to safely and effectively balance the pH of your skin by neutralizing the acid from the peel.

https://smile.amazon.com/QRxLabs-Chemical-Peel-Neutralizer-post-peel/dp/B06XT5S4B7/ref=sr_1_5?crid=3LLXFFRE8IAJI&dchild=1&keywords=chemical+peel+neutralizer&qid=1605567389&sprefix=peel+neutral%2Caps%2C229&sr=8-5

This was the last of the Beauty on a Budget Series. These 3 Parts are how I have stayed looking fresh even when low on cash. All 3 Parts have different price points…I would say this last part is the most important if you don’t have the extra funds for a Microneedling Pen or Microdermabrasion machine. Run on out and get a peel, if you do nothing else. You’re welcome!

Video Time

I’ve added a video so you can see the peel and brush in action. You’ll feel super professional if you use the brush…tee hee!

You can purchase these items here: http://www.amazon.com/shop/alisonviktorin

Beauty on a budget

Part 2 Microdermabrasion

*Disclaimer: I am not a certified aesthetician, nor am I a doctor. These are just things I do on my own skin, that I want to share with my friends.

This next beauty machine has been around for many years, now. It’s a staple for my beauty regimen. Microdemabrasion is used to renew your skin tone and texture…it helps to diminish fine lines, acne scars, and sun spots.

I use something like this…
*if you are subscribed and can’t view image, just click on my name and it will take you to my website.
https://smile.amazon.com/Microdermabrasion-TSEMY-Professional-Dermabrasion-Rejuvenation/dp/B07KW2XKWK/ref=sr_1_11?crid=1OXQ3OOWF7Q9I&dchild=1&keywords=diamond+microdermabrasion+machine&qid=1605109116&sprefix=diamond+micro%2Caps%2C183&sr=8-11

Above is a professional, at-home microdermabrasion machine. It sells for $179, but you can get them for more or less dinero depending on what you end up choosing. I like this particular machine for “it’s sterile diamond heads to peel and rub off the dead cells at the top skin layer followed by vacuuming/suction removing particles along with any dirt and dead skin.” (Amazon) This machine comes with different size diamond tips. Personally, I like the teeny tiny tips best.

Considering the fact you would be spending about $150 for a Microdermabrasion procedure at your local spa, I feel that this machine is a great deal. I use this on my face about every 4 weeks, usually a week after I have microneedled my skin, to get rid of all the dead skin trying to slough off…ew! This leaves my skin feeling refreshed and as glowy as a baby’s bum. Tee hee!

Game Changer Tip: I put a cheap serum, usually one for sun spots, on 1 section of my face and then go over it with the diamond tip. It feels like an oxygen facial and helps the tip glide smoothly over my skin. You can try it dry, as well, and tell me which style you like best. Don’t forget to Microderm your neck, chest, tops of hands, elbows, and knees.

Just a short video for all my visual friends out there.

You can purchase these items here: http://www.amazon.com/shop/alisonviktorin

Comparing Sunscreen

First, let me say I love most products from Skinbetter Science…the sunscreen, not so much. This is called Tone Smart, $55, and spf 68. The reasons I dislike this product are because it’s drying, it doesn’t protect me as much as I’d like, and the price is too high for not delivering.

I do like the compact, though.

A helpful tip is to use your fingers to rub it in instead of the provided sponge, that way you will use less product.

Currently, I am loving Make P:rem sunscreen. It’s about $30 and is spf 50. I like the magical, cooling effect it has. I like that it doesn’t leave my skin white. I’m really liking the dewy, plumped look it gives my skin.

https://smile.amazon.com/MAKEP-Defense-Moisture-Whamisa-MAKEPREM/dp/B074JVHCL1/ref=sr_1_5?crid=1UYDWDWFB20B4&dchild=1&keywords=makeprem+uv+defense+me+moisture+sun+cream+spf50+pa&qid=1605109787&sprefix=makeprem%2Caps%2C229&sr=8-5

This is the game changer tip…I combine the sunscreen with this whipped, mousse goodness to give my skin a nice matte, blurred finish. You will love the texture. Combining these two products gives me the moisture I need with the blurred lines and protection that I love.

*Click on each image to go directly to the product page or the link below.

https://smile.amazon.com/Roche-Posay-Effaclar-Blur-SPF-1-01/dp/B00TBJWPRC/ref=sr_1_1?crid=4W1QA468OESZ&dchild=1&keywords=laroche-posay+bb+blur&qid=1605109659&sprefix=laroche-posay+bb%2Caps%2C596&sr=8-1

Just wanted to show you what the products look like on my skin.

You can purchase these items here: http://www.amazon.com/shop/alisonviktorin